Warm and Delicious Maize (Corn) Cookies

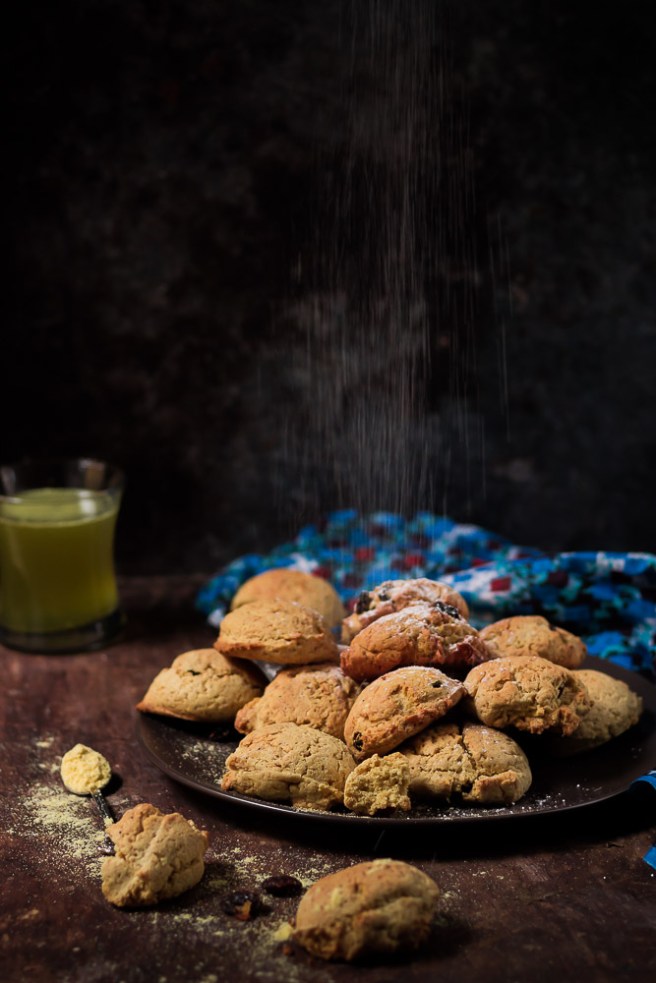
Easy to make moist and crumbly interior and golden crunchy exterior corn flour cookies. These corn flour cookies can be made in less than 60 minutes with ingredients readily available in your kitchen/ pantry. 

If you have been following @akitcheninuganda on social media, then you know that last week I was a presenter at the Culinary Institute of America‘s 22nd Annual Worlds of Flavor Virtual Conference and Festival where I talked about Ugandan food. To watch the replay of my presentation, follow this link here.

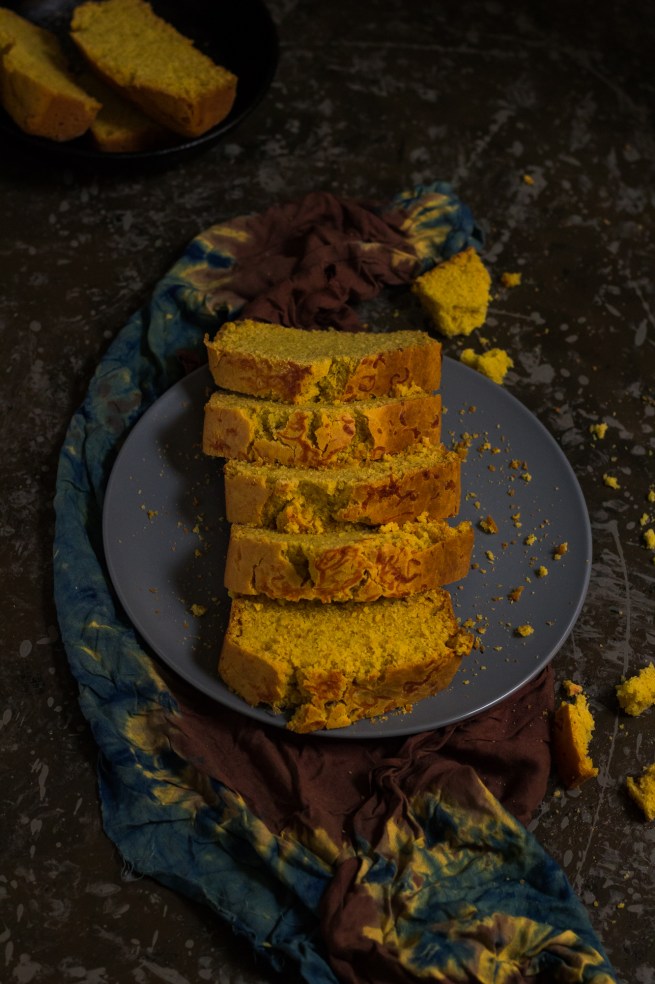
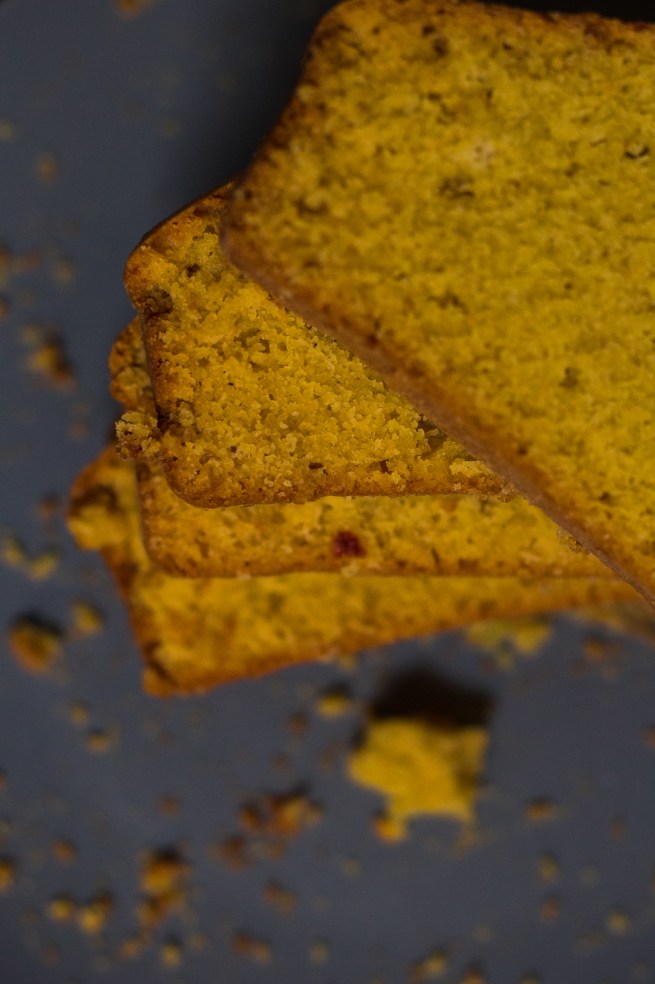
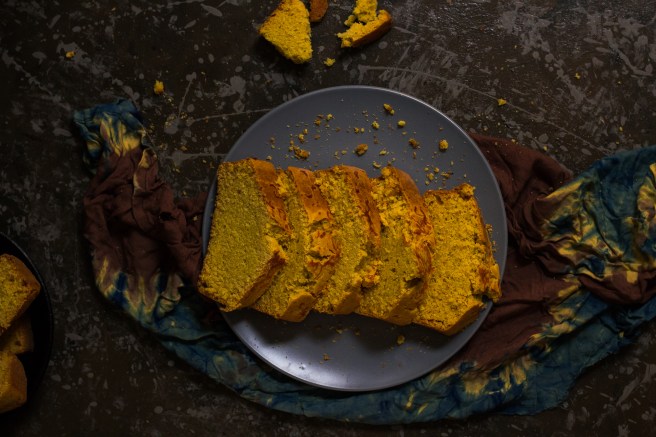
Remember this cornbread I shared a few months back? Well, I am back with its cousin in form of a cookie. This cookie feels like a warm hug on a cold day. Think of your favorite meal when it has rained non-stop  and the weather is miserable and gloomy. Yes this cookie feels like that! And it doesn’t need any elaborate set of ingredients to make.  The corn flour (maize flour) adds a warm rich and crumbly texture to the cookie. I made it twice in a span of 24 hours because it is that good. 

Warm and Delicious Maize (Corn) Cookie Recipe

What you will need: 
1 C. Corn flour/Maize Flour
2 C. Wheat flour
1 C. Powdered milk
1/2 C. Sugar
1/2 C. Butter /margarine
2 eggs
1 Tsp. Black pepper
1/2 Tsp. Allspice/Cloves

Handful of raisins (optional)
1/4 Tsp. Nutmeg
1 Tsp. Vanilla essence
2 Tsp. Lemon/lime juice
1/2 Tsp. Baking soda

Observations:

  1. I used yellow maize four. You can use white maize flour which works equally well. 
  2. You can easily double the ingredients to make more cookies.
  3. I added raisins since they are what I had available. You can add chocolate chips as well. 
  4. When the cookies are done baking they will be soft. Wait for them to cool down and harden.

Method

  1. Sift all the dry ingredients in a bowl and set aside
  2. In a separate bowl, beat (whisk) the sugar and butter till loose and fluffy 
  3. Add the eggs to the beaten sugar and butter and mix well. 
  4. Next add the vanilla and lemon juice and mix.
  5. Gradually add the dry ingredients (i.e. the mixed flours) into the whipped butter and egg mixture while mixing. A firm dough should form when all the flour is used up. 
  6. Using a spoon/ ice cream scoop or your hands, form balls from the dough and place them on a greased baking tray. 
  7. Bake for 25-30 at 300 degrees F
  8. Yields 15+ cookies

Use #AkitchenInUg to share your creations.


Advertisement

Easy to Make Moist and Delicious Cornbread

Easy to make moist and crumbly interior and golden crunchy exterior 10 ingredient cornbread.  This cornbread can be made in less than 60 minutes with ingredients readily available in your kitchen/ pantry.  


While the world is falling down the banana bread making rabbit hole, I am still on the edge because I have no bananas on me (where do y’all get bananas?) And even if I had them, I would eat them immediately before even thinking of making the bread. So I have instead resorted to making the next best thing: cornbread. We all have maize in our pantries/ stores and this bread is so easy to put together. And believe me when I say that it is possibly the easiest bread you will ever have to make because it uses pantry staples like flour, maize, baking powder and sugar and in an hour’s time, you will have the bread ready. So next time you feel bad for not having bananas to make banana bread, make this cornbread instead. You will not regret it.


 Easy to Make Moist and Delicious Cornbread Recipe

What you will need:

1 C. Corn/maize flour
2 C. Wheat flour
1 1/3 C. Milk
3 Tbsp Sugar
1/2 Tsp. Salt
2 Tbsp. Baking powder
1 Egg
1/3 C.Oil
1/2 Tsp. Lemon zest
1/2 Tsp. Nutmeg
Cheese (optional)

Observations

  1. I used yellow maize four. You can use white maize flour as well. 
  2. You can easily double the ingredients to make two loaves.
  3. The bread keeps well in the fridge.


Method

  1. Add maize/corn, wheat flour, salt, sugar, baking powder and nutmeg in a large bowl and mix well. 
  2. Next pour oil and milk in the dry mix. Crack the egg in  and mix well. You can use a whisk to further mix the batter till it is smooth and without flour bubbles. 
  3. Grate some lemon zest and cheese (optional) into the batter and mix well. 
  4. Grease your baking pan with butter/margarine and pour the batter into the pan. Grate some more cheese on top of the batter.
  5. Bake for 45 minutes at 350 degrees F.  The loaf will rise, crack and have a golden yellow exterior when done.


This bread is good on its own, with tea or with your favorite stew. I personally like eating it with a rich bean stew like this one.

Share your creations using the #AkitchenInUg on social media.

Posho (Ugali) Video

It is time for us to talk about posho because as much as we try to deny it, it is a huge part of us as Ugandans. If you have passed through the Ugandan educational system, then you have probably had your fair share of posho (and beans) and then some! But to be honest, I have come to love posho so much that I make it on a weekly basis and I am seriously thinking of many other ways we can celebrate this high energy food. An E-Book perhaps?

I realized that sometimes it hard to put some processes into words so I have made a small video to demonstrate the basic procedure of making posho. While doing my research, I also realized that there are many ways to make posho. For example in Kenya, they prefer it a little bit harder than in Uganda while in Southern Africa (Zambia and Zimbabwe), it is preferred a little softer,  almost like a thick porridge.

Now with the above in mind here are some observations:

  1. For this video, I used yellow maize flour. Id you have white maize flour, the results will be the same. Yellow flour tastes a little different from white. This is not significant and is only noticeable if you have been eating white flour for quite some time.
  2. Make sure the water has reached boiling point before adding the flour. this will quicken the cooking process.
  3. Mingling vigorously and continuously will ensure that you don’t have lumps in your posho
  4. The mingling duration will range from 15-20 minutes. You can occasionally stop in-between mingling and cover the pan to let the steam inside cook the posho then continue.
  5. Once you are sure the posho is ready ( and doesn’t taste raw and “flourly”), you can cover the pan and reduce the fire completely so that it can cook in its own steam

Now that we have broken down the process, here is the video.

How do you make posho or its equivalent? Let me know below. Also what do you like to eat it with? I personally find it better with protein sauces and soups.